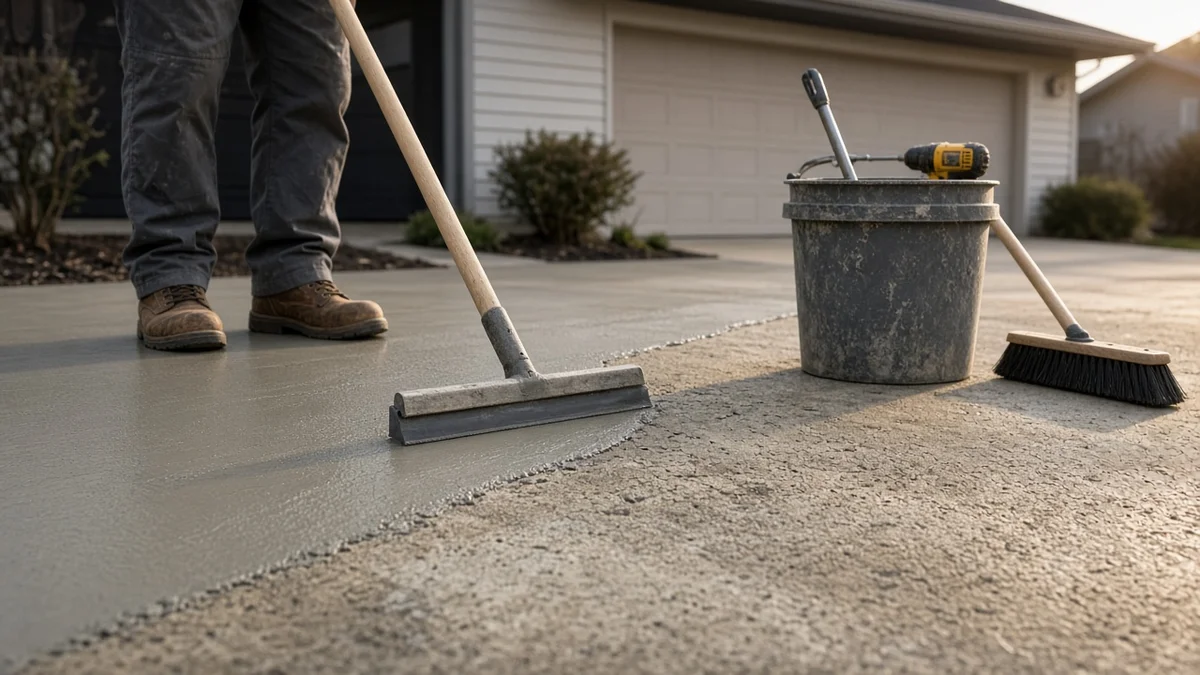
A resurfacer is a thin cement-based coating with polymers that help it bond to old concrete. It is one of the best-value fixes for a tired driveway, patio, walkway or pool deck, because you keep the existing slab and give it a fresh, uniform top. This guide covers when resurfacing works, the prep that makes or breaks it, the application steps and how much material to buy.
When resurfacing concrete makes sense (and when it does not)
Resurfacing is a surface fix. Before you buy anything, check that the slab underneath is sound.
| Problem | Resurface? | Better fix |
|---|---|---|
| Scaling, flaking or pitting from salt or freeze-thaw | Yes | Resurface, then seal |
| Stained, blotchy or patched-looking surface | Yes | Resurface or stain |
| Fine hairline cracks | Yes, after filling | Fill, then resurface |
| Wide or moving cracks | No | Repair or replace the section |
| Sunken or tilted slab | No | Lift or level the slab first |
| Heaving, crumbling or hollow-sounding slab | No | Replace |
If the slab has settled, read our guide to concrete leveling first. Resurfacer follows the slab, so it will not correct a dip or trip edge. If the surface damage came from deicers, our post on whether salt is bad for concrete explains how to stop it happening again.
For a new look and texture, a paver overlay can cover a sound slab instead.
The same overlay idea can refresh worn concrete step treads if the flight is still sound.
Concrete resurfacer vs self-leveling compound
These two products are often confused. A concrete resurfacer is built for thin coats over sound concrete, inside or out, and takes a broom finish for grip. A self-leveling compound flows out to fill low spots on mostly indoor floors and is usually covered by flooring. For a basement or garage floor that is uneven, see self-leveling concrete. For an outdoor slab that just looks worn, resurfacer is the right tool.
Tools and materials
- Polymer-modified concrete resurfacer (check the bag for thickness limits)
- Pressure washer, ideally 3,000 psi or more with a surface cleaner attachment
- Concrete cleaner or degreaser and a stiff scrub brush
- Crack filler or patching compound for cracks and holes
- 1/2-inch drill with a paddle mixer, 5-gallon buckets and a measuring container for water
- Long-handled squeegee, steel trowel or finishing trowel, and a masonry brush
- Push broom for a non-slip finish
- Duct tape or weatherstrip to keep control joints open
- Garden hose with a mist nozzle, gloves, eye protection and a dust mask for mixing
How to resurface concrete step by step
Step 1: Check the weather
Most resurfacers need warm, dry conditions to cure. Quikrete's resurfacer data, for example, says not to apply unless the surface will stay above 50°F for 8 hours after placement and will not freeze for 24 hours. Avoid direct hot sun, strong wind and rain in the forecast. In late fall, pick a mild afternoon or wait for spring, and keep concrete curing blankets handy if a cold night sneaks in.
Step 2: Repair cracks and holes
Fill cracks and patch deep spalls a day or more before resurfacing, following our steps for fixing cracks in concrete. Resurfacer is thin, so it will not bridge open cracks, and a crack that moves will reflect straight back through the new surface.
Do not overlay a slab with active concrete spalling until every loose flake is gone and the base is sound.
Step 3: Clean it harder than you think
This is the step that decides whether the resurfacer bonds or peels. Remove oil with a degreaser (see removing oil stains from concrete), then pressure wash the whole slab. Most manufacturers ask for at least 3,000 psi to strip dirt, loose paste, algae and old coatings. Paint and sealer must come off, because resurfacer will not bond to them. The surface should look clean, open and slightly rough.
Step 4: Mark the control joints
Press duct tape or weatherstrip into the existing control joints, or plan to re-cut them. If you bury the joints, the slab will crack along them anyway, right through your new surface.
Step 5: Pre-wet the slab
Soak the concrete, then remove any standing water so the surface is saturated but has no puddles (often called saturated surface dry, or SSD). A dry slab pulls water out of the resurfacer too fast and weakens the bond.
Step 6: Mix in small batches
Add powder to the measured water, not the other way round, and mix with a drill and paddle to a lump-free, pourable consistency. Let it rest a minute or two and remix. Working time is short, about 20 minutes at 73°F for Re-Cap, so mix only what you can spread. Do not add extra water later to loosen a stiffening batch.
Step 7: Spread the first coat
Pour a ribbon of mix onto the slab and spread it with the squeegee, pressing it into the pores. Work in sections, for example between control joints, and keep a wet edge. Use a masonry brush along the edges. A thin first coat of about 1/16 to 1/8 inch is typical.
Step 8: Add a second coat if needed
For more build or to hide heavier wear, apply a second coat once the first can take light foot traffic. Re-Cap's data sheet says the second coat must go on within 24 hours, otherwise you repeat the pressure washing. Lightly mist the first coat before applying.
Step 9: Finish for grip
About five minutes after spreading, or when the sheen starts to go, drag a clean push broom across the surface in one direction for a non-slip texture. For a smoother indoor look, trowel instead. Pull the tape out of the joints.
Step 10: Cure and protect
Mist lightly in hot, dry or windy weather so the coating does not dry out too fast. Keep people off it for the walk-on time and vehicles off for the drive-on time on your product. Once it has cured, a breathable concrete sealer helps protect the new surface from water, salt and stains.
How much concrete resurfacer do you need?
Coverage depends on thickness. Quikrete lists one 40 lb bag of Re-Cap at about 65 square feet at 1/16 inch, or about 16 square feet at 1/4 inch. Other brands are similar, but always check the bag.
| Area | At 1/16 in (about 65 sq ft/bag) | At 1/8 in (about 32 sq ft/bag) |
|---|---|---|
| 10 x 10 ft patio (100 sq ft) | 2 bags | 4 bags |
| 4 x 40 ft walkway (160 sq ft) | 3 bags | 5 bags |
| 12 x 20 ft single driveway pad (240 sq ft) | 4 bags | 8 bags |
| 20 x 24 ft double driveway (480 sq ft) | 8 bags | 15 bags |
The 1/8-inch column is an estimate based on half the 1/16-inch coverage. Round up and keep a spare bag; running out mid-section leaves a visible seam. If you decide the slab is too far gone and plan to pour new concrete instead, our concrete calculator gives you the volume.
Common resurfacing mistakes
- Skipping the pressure wash. Dirt and loose paste are the top reason resurfacers delaminate.
- Resurfacing over paint or sealer. Strip it first; the bond is only as good as what is underneath.
- Covering control joints. The slab will crack there anyway.
- Applying to a dry slab. Pre-wet it so the resurfacer cures instead of drying out.
- Going too thick in one pass. Stay within the bag's limit per coat.
- Working in the cold. Low temperatures slow curing and risk freeze damage; the same rules as pouring concrete in cold weather apply.
- Expecting it to fix a sinking slab. Level or replace it first.
How long does resurfaced concrete last?
A well-bonded resurfacer on a sound, well-drained slab can last many years, but it is not a lifetime fix. Life depends on prep, traffic, deicer use and freeze-thaw cycles. Sealing the new surface and avoiding harsh deicers in winter are the two easiest ways to stretch it. If it does wear, you can usually clean and resurface again rather than tearing out the slab.
Resurface, stain or replace?
If the slab is sound and you only want new color, staining the concrete is cheaper and keeps the original surface. If the surface is scaled, patched or pitted, resurface it, then stain or seal. If it is sunken, heaving or broken into pieces, replacement is the honest answer, and resurfacing would only hide the problem for a season.
Frequently asked questions
Can you resurface concrete yourself?
Yes. Most resurfacers are sold for DIY use and go on with a squeegee and broom. The hard part is the prep: repair cracks, pressure wash thoroughly and work in small sections with a helper on larger slabs.
How thick can concrete resurfacer be applied?
It depends on the product. Many resurfacers go from a feather edge up to about 1/2 inch total. Quikrete Re-Cap, for example, is rated from 1/16 inch to 1/2 inch. Check the bag for the per-coat limit.
Will resurfacing fix cracked concrete?
Only fine, stable cracks, after you fill them. Wide or moving cracks will come back through the resurfacer. Repair them properly or replace the section first.
How long before you can walk or drive on resurfaced concrete?
Follow your product. Quikrete Re-Cap lists 8 hours before foot traffic and 24 hours before vehicles in mild weather. Cold or damp conditions slow curing, so allow more time.
Do you need to seal resurfaced concrete?
It is not always required, but sealing after the resurfacer cures helps protect it from water, salt and stains, especially on driveways in freeze-thaw areas.
Is resurfacing cheaper than replacing concrete?
Usually, yes. You keep the existing slab and only buy bags of resurfacer and rent or borrow a pressure washer. Replacement means demolition, hauling and new concrete, but it is the right call for slabs that are sunken or broken.
- https://www.quikrete.com/pdfs/datasheet-concrete-resurfacer_1131-47.pdf
- https://www.quikrete.com/pdfs/spec_data-concreteresurfacer.pdf