- Before you start: plan the rise and run
- Tools and materials
- Step 1: Prepare the base
- Step 2: Build the concrete step forms
- Step 3: Add fill to save concrete (optional)
- Step 4: Pour concrete steps in one go
- Step 5: Finish the steps for grip
- Step 6: Cure and strip the forms
- Common mistakes to avoid
- Frequently asked questions
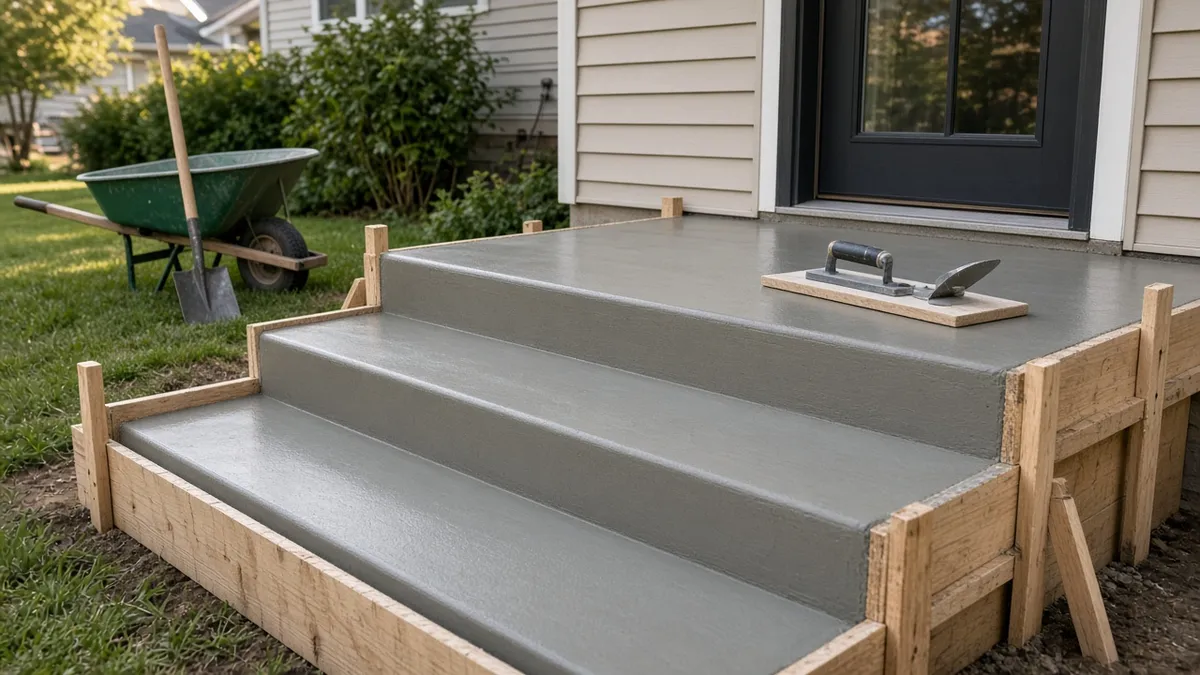
How to pour concrete steps comes down to five jobs: plan the rise and run, prepare a compacted base, build strong side forms with riser boards, pour and work all the steps in one go, then finish the treads for grip and cure before you strip the forms. A short flight of two to four outdoor steps is a realistic weekend project for a careful DIYer, as long as the forms are square, braced and level.
This guide walks through each stage, from measuring the total rise to removing the forms. It covers the forming and pouring only. For how much concrete or how many bags you need, use our concrete step calculator, which works out the volume of every step and the landing for you.
If you would rather set a factory-made unit than build forms, see our guide to precast concrete steps.
Before you start: plan the rise and run
Good steps feel natural because every step is the same. Start by measuring the total rise, the height from the ground at the bottom to the top surface (usually a door threshold or a patio).
- Divide the rise into equal risers. Quikrete's step guide recommends a riser of 7 to 7 1/2 inches with a tread of 10 to 11 inches for typical steps. For a gentler garden step, a 6 to 6 1/2 inch riser pairs with a 14 to 15 inch tread. For example, a 21-inch rise splits neatly into three 7-inch risers.
- Keep every riser and tread the same. Uneven steps are a trip hazard. Quikrete notes that risers and treads must be uniform within a flight.
- Check your local code. Many US areas use the International Residential Code, which limits risers to 7 3/4 inches and requires treads of at least 10 inches for stairs serving a home. Your city may have its own rules or need a permit, so check before you build.
- Plan the width and landing. Home steps are often built 48 inches wide, or at least as wide as the door and walk they serve. If the steps meet a door, Quikrete recommends that the top landing sit no more than 7 1/2 inches below the threshold and be at least 3 feet deep. Flights taller than about 5 feet should be split with a landing.
- Plan for drainage. Pitch each tread forward about 1/4 inch per foot so water runs off instead of pooling.
Sketch the side profile on paper with every measurement. You will use it to cut the forms.
Tools and materials
- Bagged concrete mix (regular or high-early-strength) or ready-mix for bigger flights
- 1/2-inch plywood for the side forms
- 2x4 and 2x8 lumber for stakes, braces and riser boards
- Double-headed nails or screws
- Gravel or sand for the base, plus clean rubble if you want to save concrete
- Fiber expansion joint material (if the steps touch the house or a slab)
- Form release oil
- Shovel, rake, wheelbarrow or mixer, tape measure, level and string line
- Hand tamper, screed board, magnesium or wood float, edger, steel trowel and a stiff broom
- Curing compound or plastic sheeting
If you plan to mix by hand, our guide on how to mix concrete in a wheelbarrow covers water ratios and timing.
Step 1: Prepare the base
Clear the area of grass, roots and loose soil. Quikrete's guide calls for digging to about 6 inches, then bringing the site back to a uniform grade with sand or gravel and compacting it by dampening and tamping. The base should be firm, even and free of organic material. A soft spot under one corner is the most common reason new steps crack or settle.
If the bottom step will rest on an existing walk or slab, the new concrete should not bond rigidly to it unless you have planned for that. A strip of expansion joint material between them lets each piece move on its own.
Step 2: Build the concrete step forms
The forms are the most important part of the job. Concrete is heavy and wet, so weak forms bulge or blow out.
- Cut the side forms. Draw your step profile on 1/2-inch plywood and cut both sides. Allow extra depth below grade so the bottom of the form sits in the base.
- Set the sides. Stand the side forms in place, plumb them with a level and stake them on the outside with 2x4 stakes every 2 to 3 feet.
- Add diagonal braces. Run braces from the top edge of each side form to stakes driven firmly into the ground. Steps push outward hard, especially at the bottom.
- Fit the riser boards. Cut 2x8 boards (or whatever width matches your riser height) to span between the side forms at the front of each step. Bevel the bottom edge of each riser board at about 45 degrees, angling it back toward the step. This lets you float the whole tread surface right up to the riser.
- Brace the riser boards. Long riser boards bow outward. Screw a 2x4 cleat across the middle of each one and tie it back to a stake or to the form above.
- Add the expansion joint. If the steps are against the house foundation, fix a 1/2-inch fiber expansion joint to the wall where the concrete will touch it, as Quikrete recommends.
- Oil the forms. Coat every inside face with form release oil so the forms come off cleanly.
Before you mix anything, check that each tread has its forward pitch and that every riser board is the same height.
Step 3: Add fill to save concrete (optional)
Steps use a lot of concrete. On larger flights you can place clean rubble, such as broken concrete or block, in the center of the forms. Quikrete suggests this as a way to fill low areas and cut the amount of mix you need. Keep the rubble well back from the form sides and the riser boards so it cannot show through or weaken the surface, and make sure concrete flows fully around it.
Rerun the concrete step calculator with your planned fill in mind, then add a margin. Running short in the middle of a pour is worse than having a bag or two left over.
Step 4: Pour concrete steps in one go
Quikrete stresses that you should mix and place the entire project at one time. A cold joint between steps poured hours apart is a weak point.
- Start at the bottom. Fill the lowest step first, then work up. Place the concrete slightly higher than the forms.
- Consolidate the mix. Work a shovel up and down along the forms and tap the outside of the forms with a hammer to release trapped air. This prevents honeycombing on the step faces.
- Screed each tread. Strike off each tread with a short board resting on the side forms, sawing it back and forth to keep the forward pitch.
- Keep the mix stiff. A soupy mix will flow out from under the riser boards and slump. Add only as much water as the bag directions allow.
Need extra help on the day? A pour of several steps goes faster with two people: one mixing, one placing and screeding.
Step 5: Finish the steps for grip
Timing matters. Wait for bleed water to disappear from the surface before you start finishing.
Landings and treads often get a light broom finish so the steps are not slick when they are wet.
- Float the treads. Use a magnesium or wood float to level ridges and fill small voids.
- Round the edges. When the surface turns dull, run an edging tool with about a 1/2-inch radius along the front edge of every tread and along the sides. Rounded nosings chip less and feel better underfoot.
- Add texture. Smooth treads are slippery when wet. Finish with a wood float or drag a stiff broom across each tread, side to side, for a non-slip surface.
Step 6: Cure and strip the forms
Concrete gains strength slowly, and steps carry concentrated foot traffic on their edges.
- Cure the surface. Apply a curing compound or cover the steps with plastic sheeting to keep moisture in. Our guide on concrete curing time explains how strength builds over the first week.
- Strip the riser boards first. Quikrete recommends letting the concrete harden at least 24 hours before removing the side forms. Some builders remove the riser boards a few hours after finishing to touch up the step faces with a float, then leave the side forms on longer.
- Go easy at first. Use the steps lightly for the first few days and keep heavy loads, such as appliances on a dolly, off them until they have cured properly.
If the weather is cold, protect the fresh concrete from freezing. See pouring concrete in cold weather and our guide to concrete curing blankets before a late-season pour.
Plan your handrail for concrete steps before the pour if you want sleeves cast in for the posts.
Common mistakes to avoid
- Uneven risers. Even a half-inch difference can cause trips. Measure twice and mark the heights on the side forms.
- Weak bracing. If the riser boards bow during the pour, the step faces will bulge. Brace more than you think you need.
- No forward pitch. Flat treads hold water, which leads to ice in winter and surface scaling. Keep the 1/4-inch-per-foot slope.
- Skipping the expansion joint. Concrete bonded hard against a foundation can crack as the two move differently.
- Pouring in stages. Mix enough for the whole flight in one session.
A landing that meets a foundation usually needs an isolation joint, not a tight pour against the wall.
If the flight is still solid and only chipped, see how to patch concrete steps instead of pouring a new set.
Frequently asked questions
How do you pour concrete steps?
Plan equal risers and treads, prepare a compacted gravel base, build braced plywood side forms with riser boards, pour all the steps at once from the bottom up, float and edge each tread, add a broom texture and cure before stripping the forms.
What size should concrete steps be?
Quikrete recommends a 7 to 7 1/2 inch riser with a 10 to 11 inch tread for typical steps. Many US codes cap risers at 7 3/4 inches and require 10 inch treads for home stairs, so check your local rules.
How long should forms stay on concrete steps?
Leave the side forms on for at least 24 hours, as Quikrete recommends. Riser boards are sometimes removed a few hours after finishing so the faces can be touched up, but only once the concrete holds its shape.
Can you pour concrete steps against a house?
Yes, but put a 1/2 inch fiber expansion joint between the new steps and the foundation so they can move independently. Keep the top landing below the door threshold so the door can still swing freely.
How much concrete do I need for steps?
It depends on the number of steps, their width, the riser and tread sizes and any landing. Enter your measurements in the YardPour concrete step calculator to get cubic feet, cubic yards and the number of bags.
How do you make concrete steps less slippery?
Give each tread a slight forward pitch so water runs off, round the edges and finish the surface with a wood float or a stiff broom dragged side to side. The texture adds grip in wet weather.